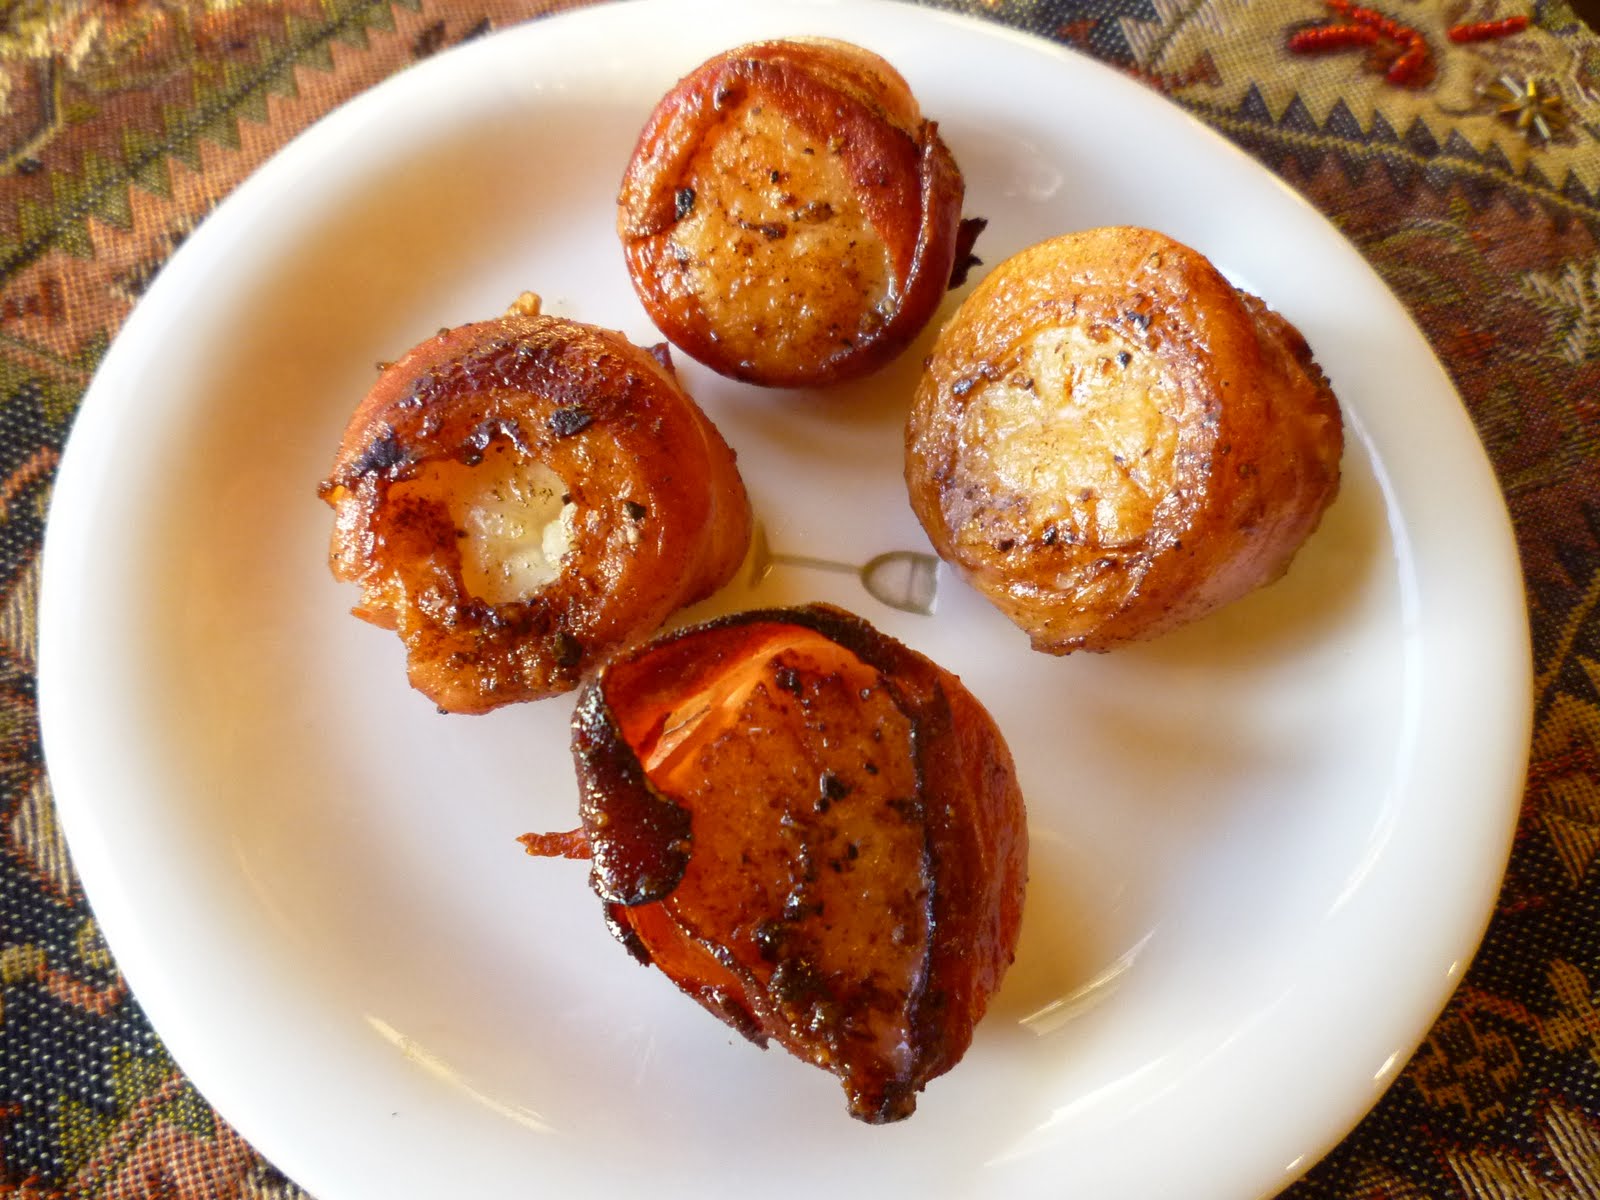
Marinated Manchego with Roasted Red Peppers
We have just returned home from three really fantastic days eating and fishing and having a blast!! For our wedding anniversary, my husband surprised me with an overnight fishing trip. He and my daddy put their sneaky heads together and came up with the perfect trip. The plan was to go to our friends, Danny and Susan Hollingsworth's gorgeous home on Lake Conroe, have dinner, get a good night's rest and head off to the Gulf Coast the next morning, fish all day, spend the night offshore, fish all day again, then head back to Danny and Susan's
The evening we arrived, Susan had this delicious appetizer of Marinated Manchego with Roasted Red Peppers waiting for us. The colors are beautiful and the taste is fantastic. It was a great challenge to not spoil our dinner by eating too much. The flavors are wonderful together and it's a nice change from the standard mozzarella you usually find in a dish similar to this. Best of all, you make it ahead!!
Marinated Manchego with Roasted Red Peppers adapted from Viking Cooking School class
1/2 C Spanish extra-virgin olive oil
2 T sherry vinegar
1 green onion, green top only, very thinly sliced
1/2 small shallot, minced
1/2 tsp whole cumin seeds, lightly toasted*
Salt and freshly ground black pepper, to taste
2 cloves garlic, peeled and crushed
1 bay leaf (preferably Turkish)
8 (3 X 1 X 1/4-inch) slices manchego cheese (about 1/2 pound)
8 (3 X 1-inch) slices roasted red peppers (about 1 medium pepper)**
1. Whisk together the oil, vinegar, green onions, shallots and cumin seeds; season to taste with salt and pepper. Add the garlic and bay leaf; set aside until needed.
2. Arrange the cheese slices in an attractive, non-reactive serving dish, then place one roasted red pepper strip over each piece of cheese. Pour the marinade over the pepper strips, then cover and refrigerate overnight.
3. Let stand at room temperature at least 1 hour before serving. (Note: Remove the garlic cloves and bay leaf before serving.)
Tips and Techniques:
* Heat a small saute' pan over med-high heat; add the cumin seeds and cook, stirring constantly, until aroma is released and the seeds just begin to brown.
**To roast peppers: Char the pepper over a gas flame on the stove or under the broiler, turning to ensure the skin blisters evenly. Place the blistered pepper in a covered container (or in a bowl covered with plastic wrap) and cool. When cool enough to handle, peel off the dark skins and remove the stem and seeds.
Make It Ahead: Marinate the cheese up to four days before serving.
Hot Tip: This recipe doubles beautifully.
Serve with toasted baguette slices.
I know, I know, fishing for your anniversary present sounds a little strange, but it was perfect for me!! Thankfully my husband knows me so well. This was a trip we have been trying to take since the beginning of May(our anniversary was May 1st). As it turned out, my husband's son Brice, made it home from his Air Force base in Germany in time to go with us. Daddy has been watching the buoy reports for wind and seas for weeks, coordinating every one's schedules, timing was critical to a good trip. Probably at the top of the list of 'Musts" was the availability of Nathan, Danny and Susan's son in law. Boy, now I understand, Nathan presence was critical. Nathan is unbelievable, he's a machine! He can set up tackle, set out outriggers, cut bait, gaff your catch, keep the boat "ship-shape" and make a mean ceviche while offshore! Thanks again Nathan, we had a blast, and you're awesome!!
Last night, after we got back in, we all went out to dinner and it occurred to me that I have been fishing with my dad since he was about 15 years younger than I am right now. That's a long time. I love it! We've know Danny and Susan since probably the late 70's, when they used to live right down the street from us and refer to my sister as "Our Claire". We love their family very much and our family is infinitely blessed to have them in our lives.
Keep an eye out for Part 2, Paella!!

 Print this Recipe


.jpg)


.jpg)